
19 | Super Simple Summer Meal Plan
You don’t have to wait for the weekend to celebrate. Invite friends over for a birthday or a just mid-week get together. This week’s recipes can easily be doubled to make a party sized amount of food, and it takes the same amount of time to prepare for 4 or 10 people. Are you still trying to use fruits and vegetables available in season? Enjoy great simple flavors in this week’s meal plan. When the ingredient list is as short as this one, it’s even more important to buy good quality produce.
1 | Main Dish
Spicy Chickpea and Swiss Chard Pastry Pockets
Puff pastry is underused and versatile. It can turn an ordinary weeknight meal into something memorable. Swiss chard is a nutrient-rich, slightly bitter leafy green that is plentiful this time of year. Adding it to chickpeas, almonds, garlic, and tomatoes creates the filling for these pastry pockets. Sprinkle a little cayenne for heat, and this main dish is a power packed fiery feast.
3 | Side
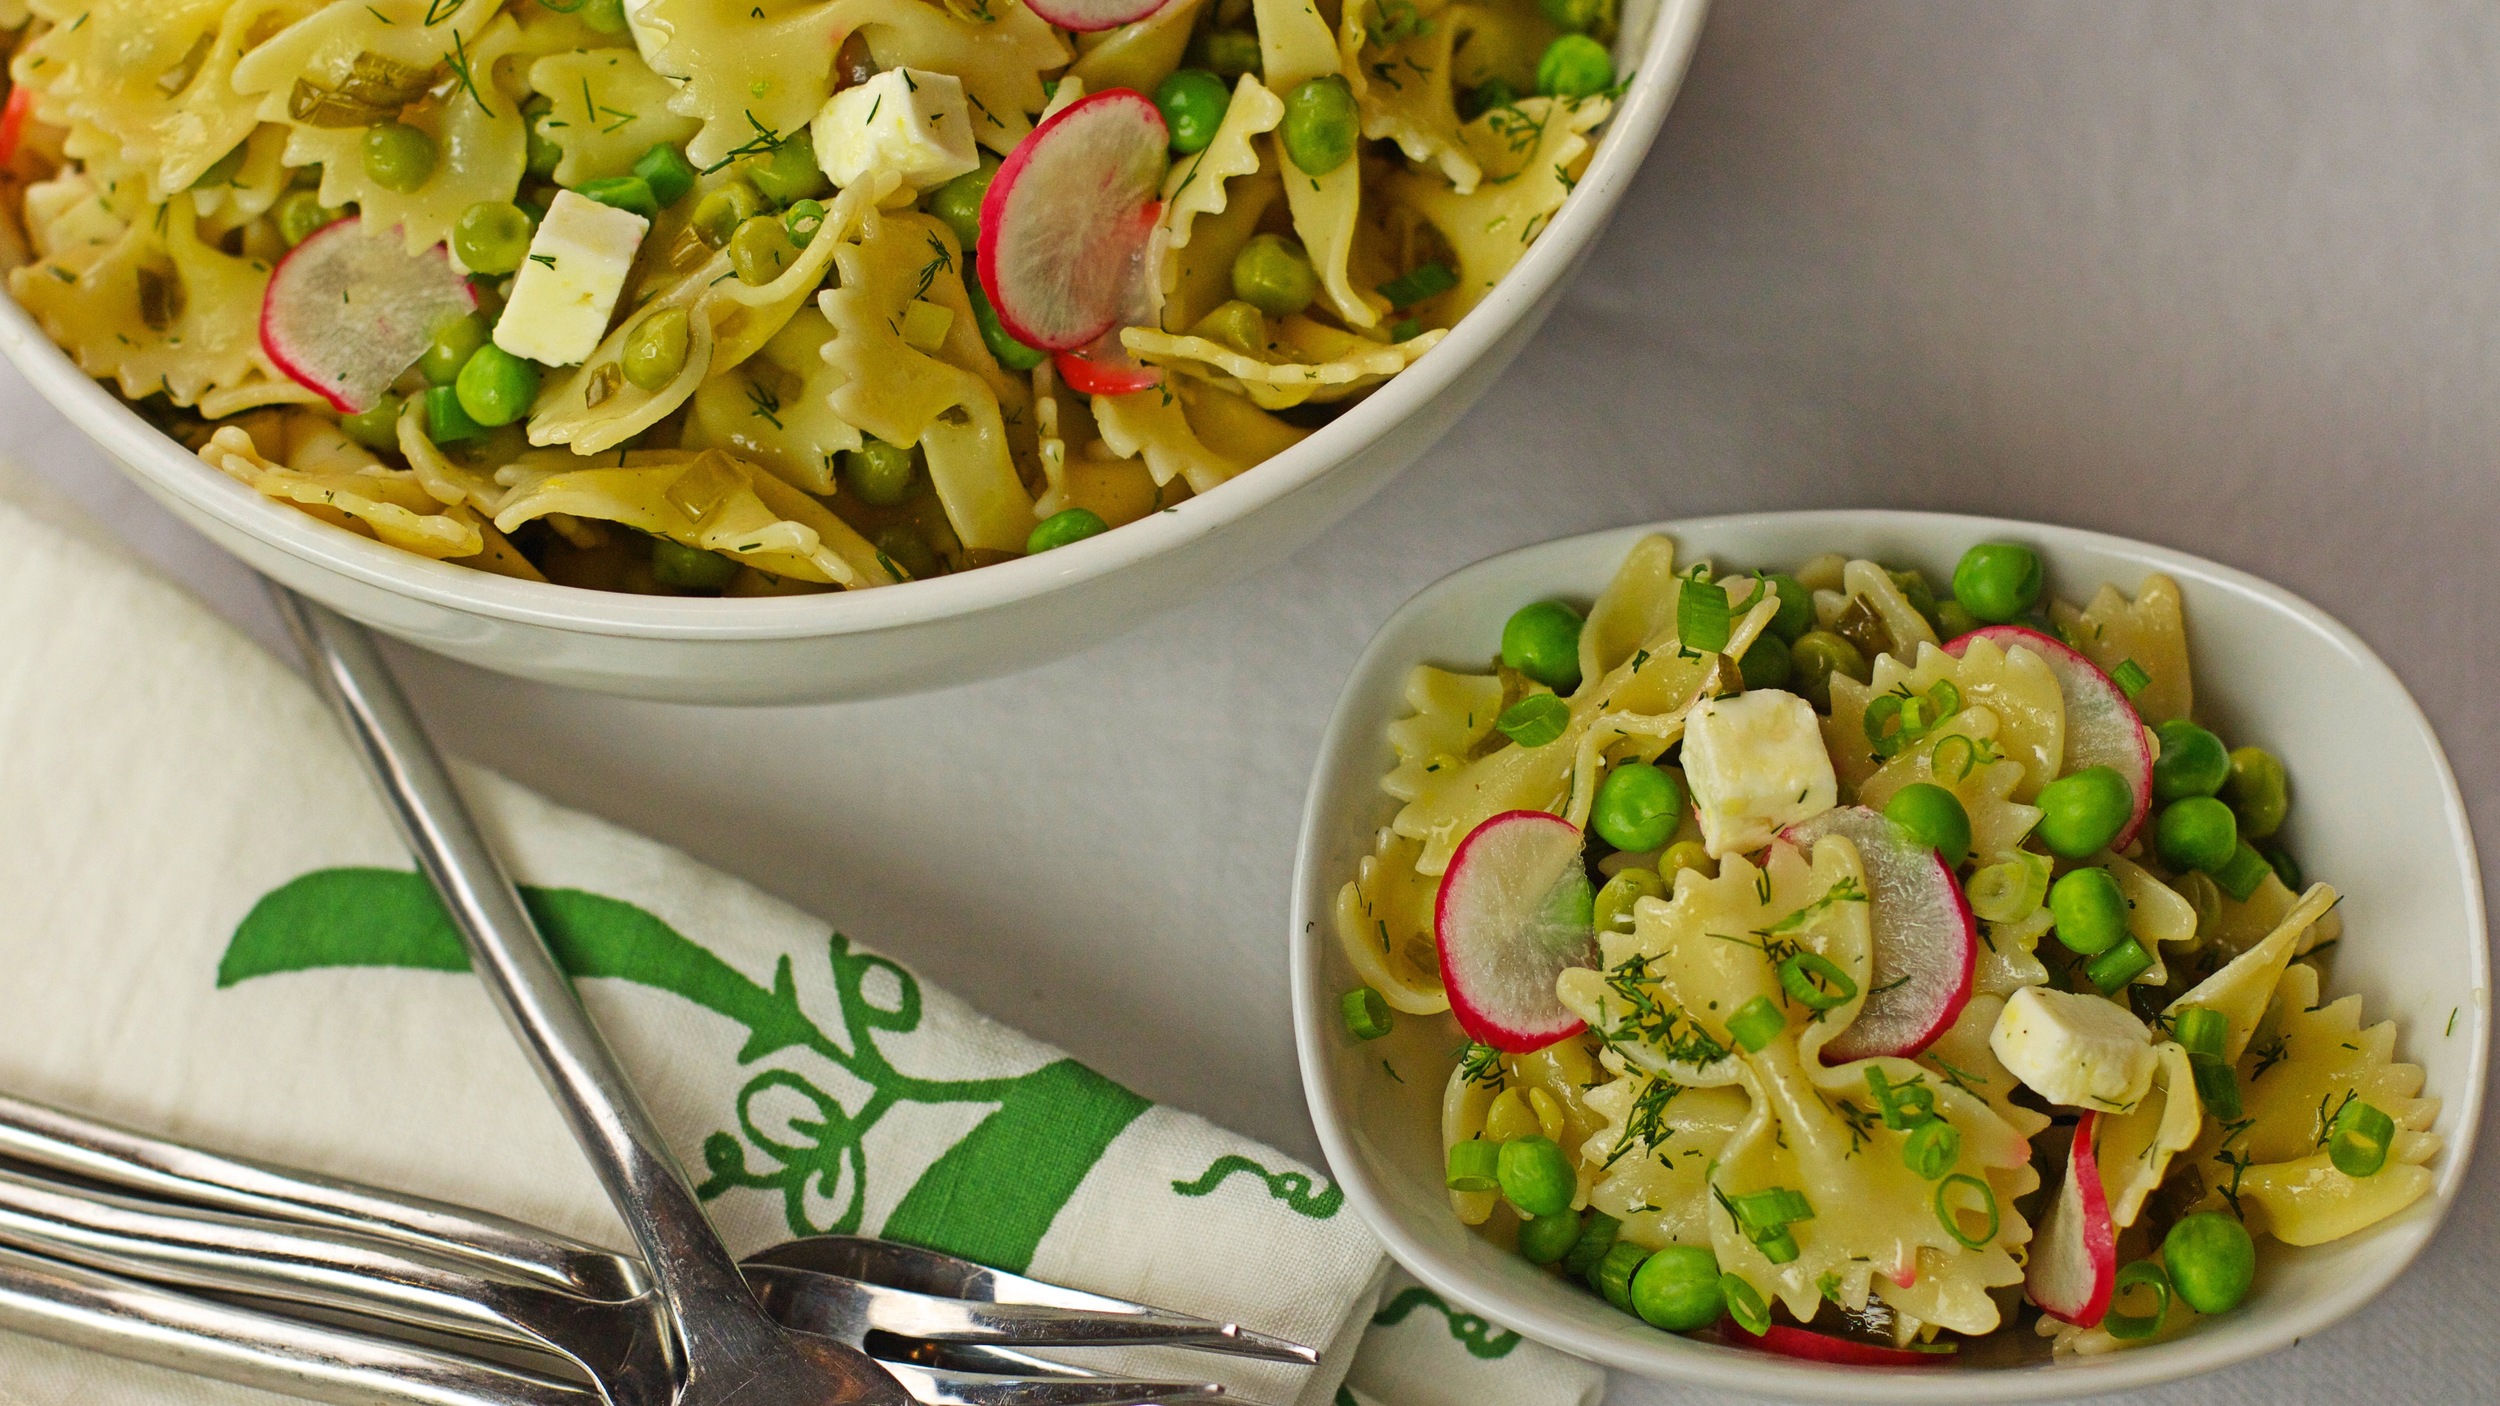
Dill Peas and Radish Pasta
There are herbs I use all the time and some I forget about, but still love. Dill is one of those herbs. It isn’t just for pickles and Greek food. This pasta dish has dill for an extra punch of freshness. The lemon and dill dressing sort of pickles the peppery radishes. Peas, which in my mind are a perfect vegetable, add a little burst of sweetness. Feta rounds out the dish with saltiness that’s hard to beat.
2 | Salad
Zucchini and Green Bean Salad with Mint Dressing
With so many different sorts of leafy greens to enjoy during the summer, why not try a new one? Watercress has a subtle, peppery flavor, which is perfect paired with this rich minty yogurt dressing. Making the dressing ahead of time allows the mint to really permeate the yogurt and become even more fragrant. Sweet blanched green beans and zucchini come together to create an ideal summer salad.
4 | Dessert
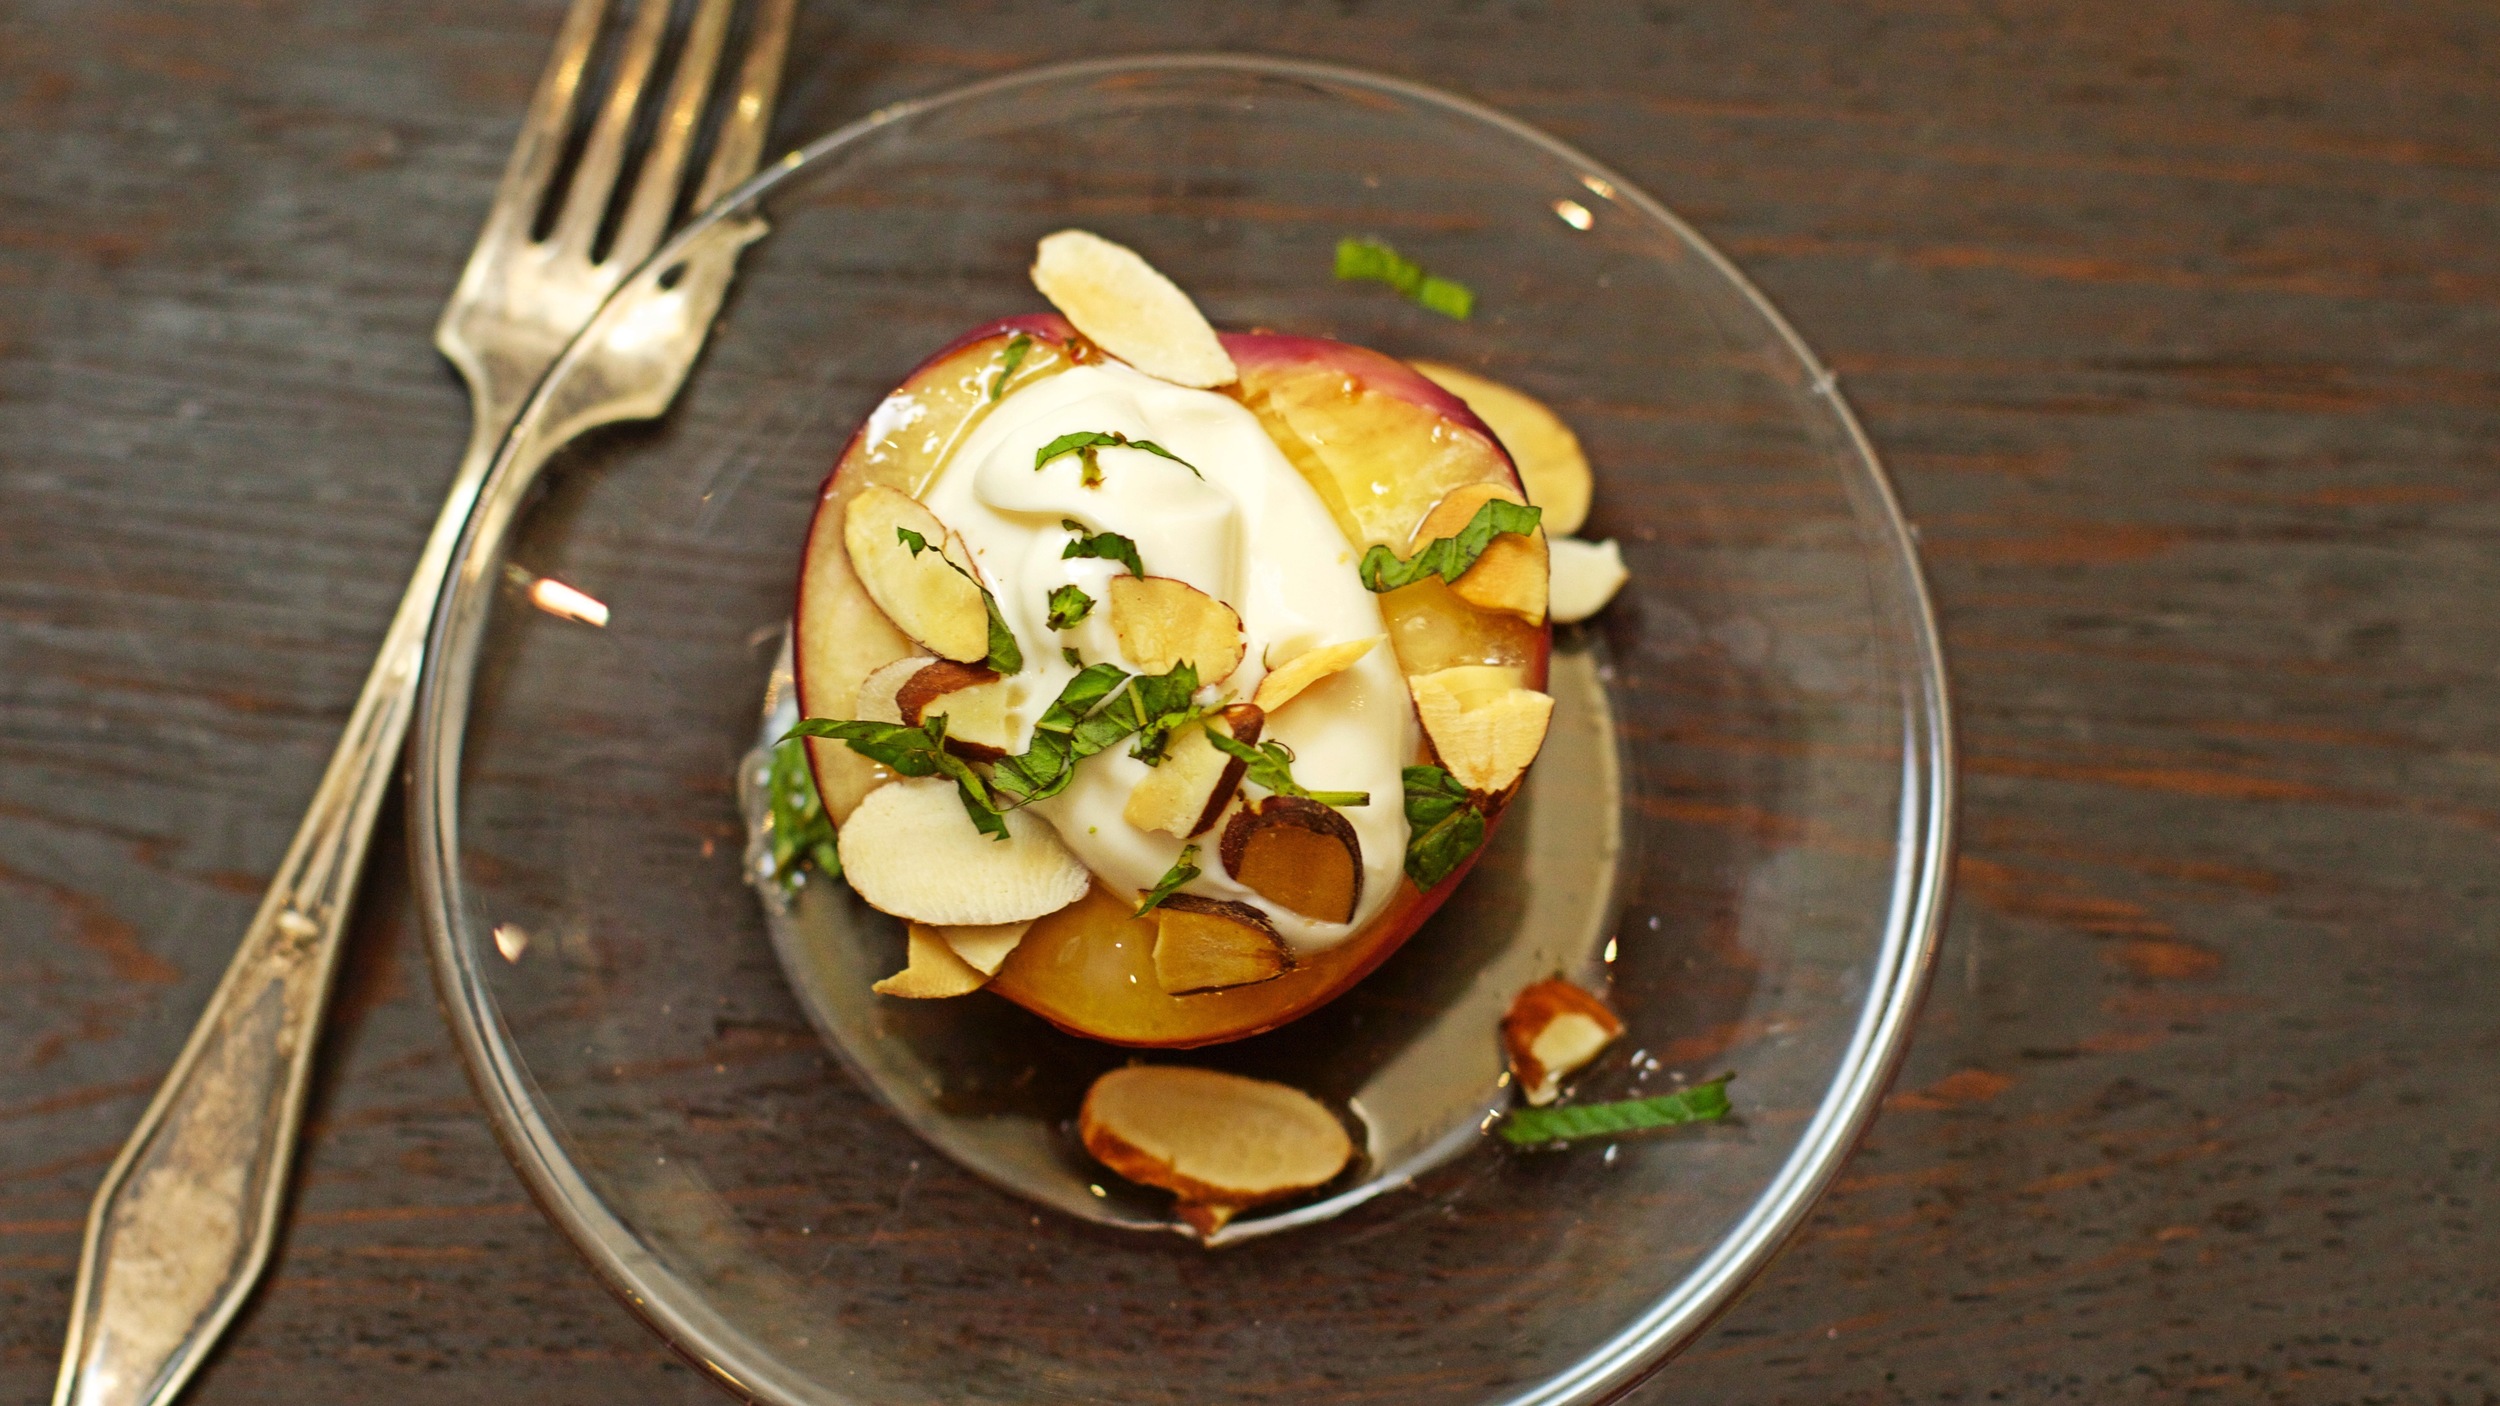
Maple Roasted Nectarines
Nectarines are perfect now, and maybe you bought a whole case hoping you’d eat more than you did. This recipe is another way to enjoy them while they are perfectly ripe. The maple syrup glaze adds caramelization to an already flavorful fruit. Then the maple Greek yogurt and toasted almonds kicks this dessert over the edge into irresistible. Invite friends over to share this light and lavish dessert.
The more you eat, the less flavor;
the less you eat, the more flavor.
~Chinese Proverb
INSTRUCTIONS
1 | Main Dish
Spicy Chickpea and Swiss Chard Pastry Pockets

1 package puff pastry
4 cups swiss chard
2 garlic cloves
1 can chickpeas (15.5 oz can)
1 medium tomato
3 green onions
5 oz swiss cheese, grated
1/4 cup sliced almonds
1/4 teaspoon cayenne pepper
olive oil
1/2 teaspoon salt
Want to make this dairy or gluten-free? For a dairy-free option, use your favorite cheese substitute, like any of daiya deliciously dairy free shreds, in place of the swiss cheese. Instead of using puff pastry, make your own gluten-free and dairy-free pie dough.
Gluten-free Pie Dough:
1 1/4 cups gluten-free flour blend
1/4 teaspoon salt
1/4 teaspoon xanthan gum
8 tablespoons cold unsalted butter,
cut into 1/4-inch cubes
3 tablespoons very cold water
1 teaspoon rice vinegar or white vinegar
Simply use cold coconut oil or earth balance vegan shorteninginstead of butter for dairy-free pie dough. For gluten-free flour, combine 1 1/2 cups brown rice flour, 1 3/4 cups tapioca flour, 1/2 cup almond flour, and 1 teaspoon xanthan gum. Store the leftover flour blend in a airtight container in the refrigerator for unto 3 months.
Make ahead option– Follow The Simple Steps 1-3. Store the filling in a sealed container in the refrigerator for up to 3 days. When you’re ready to have this meal, simply continue with The Simple Steps 4-6. You can also follow The Simple Steps 1-5, place the triangles on a tray, and freeze them to use later. They will last for one month in a sealed baggie in the freezer. Keep in mind that they will need a few extra minutes in the oven if you choose to freeze them.
The Simple Steps...
1. Preheat your oven to 425˚ lightly oil a large baking tray. Remove the puff pastry from the freezer and unwrap it. Do not unfold it yet. Lightly flour a 14” x 14” space on your counter, place the pastry on the flour, and let it sit at room temperature while you make the filling.
2. Wash the swiss chard, remove the stems, and chop it into 1/2 wide ribbons. Place a large pan over medium heat. Add 2 tablespoons of olive oil to the pan. Stir in the swiss chard. Mince the garlic and add it to the pan too. Sauté the greens for 5 minutes. Season this mixture with 1/4 teaspoon salt. Four cups will look like a lot of chard, but it will get considerably smaller once it’s cooked down.
3. Drain and rinse the chickpeas. Chop the tomato. Add both to a large mixing bowl. Slice the green onion into a fine slice, and add them to the mixing bowl. Add the swiss cheese and almonds into the large mixing bowl. Stir everything together and sprinkle the cayenne over the mixture. Stir the cooked swiss chard into this mixture. Season with another 1/4 teaspoon salt and mix everything together.
4. Unfold the puff pastry once it is thawed. If the dough cracks when you unfold it, sprinkle some water on it and press it back together. If it is too sticky, dust it with a little flour. Remove the parchment paper and dust the dough with a little flour. Use a pastry cutter or pizza cutter to cut each sheet of dough into four squares.
5. Place a heaping 1/3 cup of the chickpea filling near one corner of each square. Spread out the filling to make a thinner layer over half of the pastry. Take the opposite corner and fold it over the filling making a large triangle.
6. Gently place the triangles onto the baking trays. I used a large metal spatula to move the pastry from the floured surface to the baking tray. Bake for 17-20 minutes or until the pastry is golden brown and cheese is bubbly.
2 | Side
Zucchini and Green Bean Salad with Mint Dressing

2 small zucchini
1 cup fresh green beans
3 small sweet peppers
2 celery stalks
1 bunch watercress
Yogurt Mint Dressing:
1 cup plain greek yogurt
1 garlic clove, minced
2 tablespoons chopped fresh mint
2 tablespoons lemon juice
1 teaspoon lemon zest
1/2 teaspoon salt
Want to make this dairy or gluten-free? This salad is already deliciously gluten-free. To make it dairy-free, replace the greek yogurt in the mint dressing with your favorite dairy-free yogurt like So Delicious Almond Milk Plain Greek Yogurt.
Make ahead option– The salad dressing can be made between 4-5 days ahead; just be sure to mix the dressing well before use.
The Simple Steps...
1. Bring a saucepan of lightly salted water to a boil. Wash the green beans and cut off the stems. Cut the beans into two-inch long pieces. Wash the zucchini and cut them into thin two to three inches long sticks. Add the zucchini and beans to the boiling water.
2. Cook the vegetables for 5-6 minutes until they are cooked, but still a little firm and bright green. Do not over cook the zucchini. Drain and rinse the veggies under cold water to stop the cooking process. Set them aside.
3. Wash and cut the sweet peppers into very thin strips and set them aside. Wash the celery and cut them into thin pieces.
4. Wash the water cress and separate the leave from the fibers and roots. On a medium serving platter, spread the watercress making a thin layer. Place the cooked green beans and zucchini sticks on top of the watercress. Sprinkle the thinly sliced peppers and celery on top of that.
5. Spoon the yogurt mint dressing over the salad and serve.
Yogurt Mint Dressing:
1. Mince the garlic. In a small mixing bowl, combine the yogurt, garlic, mint, lemon juice, lemon zest, and salt.
3 | Side
Dill Peas and Radish Pasta
6 oz dried farfalle pasta
2 cups fresh or frozen green peas
3 tablespoons olive oil
2 tablespoon lemon juice
1 teaspoon lemon zest
1 tablespoon chopped fresh dill
1/4 teaspoon salt
a dash of pepper
2 medium radishes
2 green onions
2 oz feta
Want to make this dairy or gluten-free? To make this dairy-free, omit the feta or use your favorite dairy-free cheese like daiya deliciously dairy free Smoked Gouda Style Blocks. Most dried pastas are dairy-free, but check your favorite pasta to be sure. For a great gluten-free option, check your grocery store for gluten-free pastas like Barilla or Heartland.
Make ahead option– The pasta and peas can be made ahead, tossed in a tablespoon of olive oil, and stored in a sealed container in the fridge for 3-4 days. The dressing can be made and stored in a small jar. The green onions, radishes, and feta can be cut so they are ready to go into the salad too. Store the green onions, radishes, and feta in three separate containers. When you are ready to make this meal, toss everything together in a large mixing bowl and serve.
The Simple Steps..
1. Bring a large pan of lightly salted water to a boil. Add the pasta and cook it for 9-10 minutes or according the the instructions on the package. Add the peas to the pasta in the last two minutes of cooking. Drain the pasta and peas and rinse them in cold water to stop the cooking process.
2. While the pasta is cooking, make the dressing. Add the lemon juice, lemon zest, chopped dill, olive oil, and 1/4 teaspoon salt to a large mixing bowl, and stir it all together.
3. Slice the radishes very thinly, and add them to the dressing. Slice the green onions, and stir them into the mixture. Stir in a few grinds of fresh black pepper.
4. Toss the pasta and peas into the large mixing bowl. Mix everything together to coat the pasta with dressing.
5. Cut the feta into 1/2 inch pieces. Add it to the pasta and gently stir everything together.
4 | Dessert
Maple Roasted Nectarines
4 nectarines
4 tablespoons maple syrup
1/2 cup greek yogurt
1 tablespoon maple syrup
1/2 cup sliced almonds
6 mint leaves
Want to make this dairy or gluten-free? This is already a gluten-free dessert. To make it dairy-free too, use your favorite dairy-free yogurt, like So Delicious Almond Milk Plain Greek Yogurt, in place of the greek yogurt in the recipe.
Make ahead option– The Simple Steps 1-5 can be done ahead. Store the roasted nectarines, toasted almonds, and maple flavored yogurt in separate sealed containers in the refrigerator for up to five days. When you’ve got a craving for a deliciously light dessert, just reheat the fruit and top with yogurt, toasted nuts, and sliced mint leaves.
The Simple Steps...
1. Preheat the oven to 425˚. Lightly oil the bottom of a 9x13 baking dish.
2. Wash the nectarines, cut them in half, and take the pits out. Place the nectarines pit side up into the 9x13 baking dish. Drizzle each nectarine half with 1/2 tablespoon maple syrup. I used white nectarines because they smelled so fragrant when I passed by them. But you could use any stone fruit you’d like. Plums or peaches would be equally as delightful.
3. Roast them for about 12 minutes or until they are soft and caramelized.
4. While the nectarines are in the oven, mix the yogurt and 1 tablespoon maple syrup together in a small bowl.
5. Place the sliced almonds onto a small baking tray. Toast them in the 425˚ oven with the nectarines for 2 minutes until they are golden brown. Keep a close eye on them so they don’t burn. I burn the nuts almost every time!
6. To serve, place two nectarine halves onto a small plate. Spoon some of the maple yogurt onto the middle of each nectarine then drizzle some hot maple syrup from the baking dish. Sprinkle a few toasted almonds on top of the yogurt. Lastly, thinly slice the mint leaves and scatter some on top each nectarine. Enjoy this divine dessert! (For help cutting mint, watch this video. Slice the mint just like basil.)
QUICK TIP
Cooking For Company–
• If you have ingredients that are used in multiple recipes, like the mint and lemons from this meal plan, prepare them at the same time. That way you’re only zesting or juicing once instead of twice.
• Prepare your ingredients before you start cooking. I’ve it said before, but it’s still true and important. It helps you stay organized so that you have everything ready at the right time while you’re cooking.
• I like cooking with my friends. Cooking the meal becomes part of the nights entertainment and fun of an evening together. Put your friends to work in the kitchen prepping the salad or chopping the vegetables. But if making food ahead helps you to relax while you have company, prepare as much ahead of time as possible.
WHAT DID YOU THINK?
Please let me know what you think about this week's meal plan. What do you do to use up extra produce?
Remember, sharing is caring! Forward this email to your friends and family.