
18 | Take Advantage of Summer Produce
I often think I’d love to have a garden because I remember blissful days spent in both grandmothers’ gardens. We would pick and eat the veggies while sitting right there in the dirt. Then, I recall all the hard work that goes into it, and I’m happy that I only have two small potted plants. Thinking about the tilling and weeding makes me appreciate the farmer’s markets that much more. I love hearing the vendors talk about their produce and their favorite way to enjoy it. These conversations inspired me to make the recipes in this meal plan. Here’s a shopping list for this summer meal.
1 | Main Dish
Angel Hair Pasta with Cherry Tomatoes, Zucchini, and Yellow Squash
My basil plant is thriving in this weather so I’m trying to use as much as possible. It’s a natural compliment to the summer abundance of zucchini, yellow squash, and tomatoes. Adding delicate angel hair pasta and a little heat from red pepper flakes really enhances the fresh flavors. This pasta dish is a garden on a plate, and summer produce at it’s best.
3 | Side
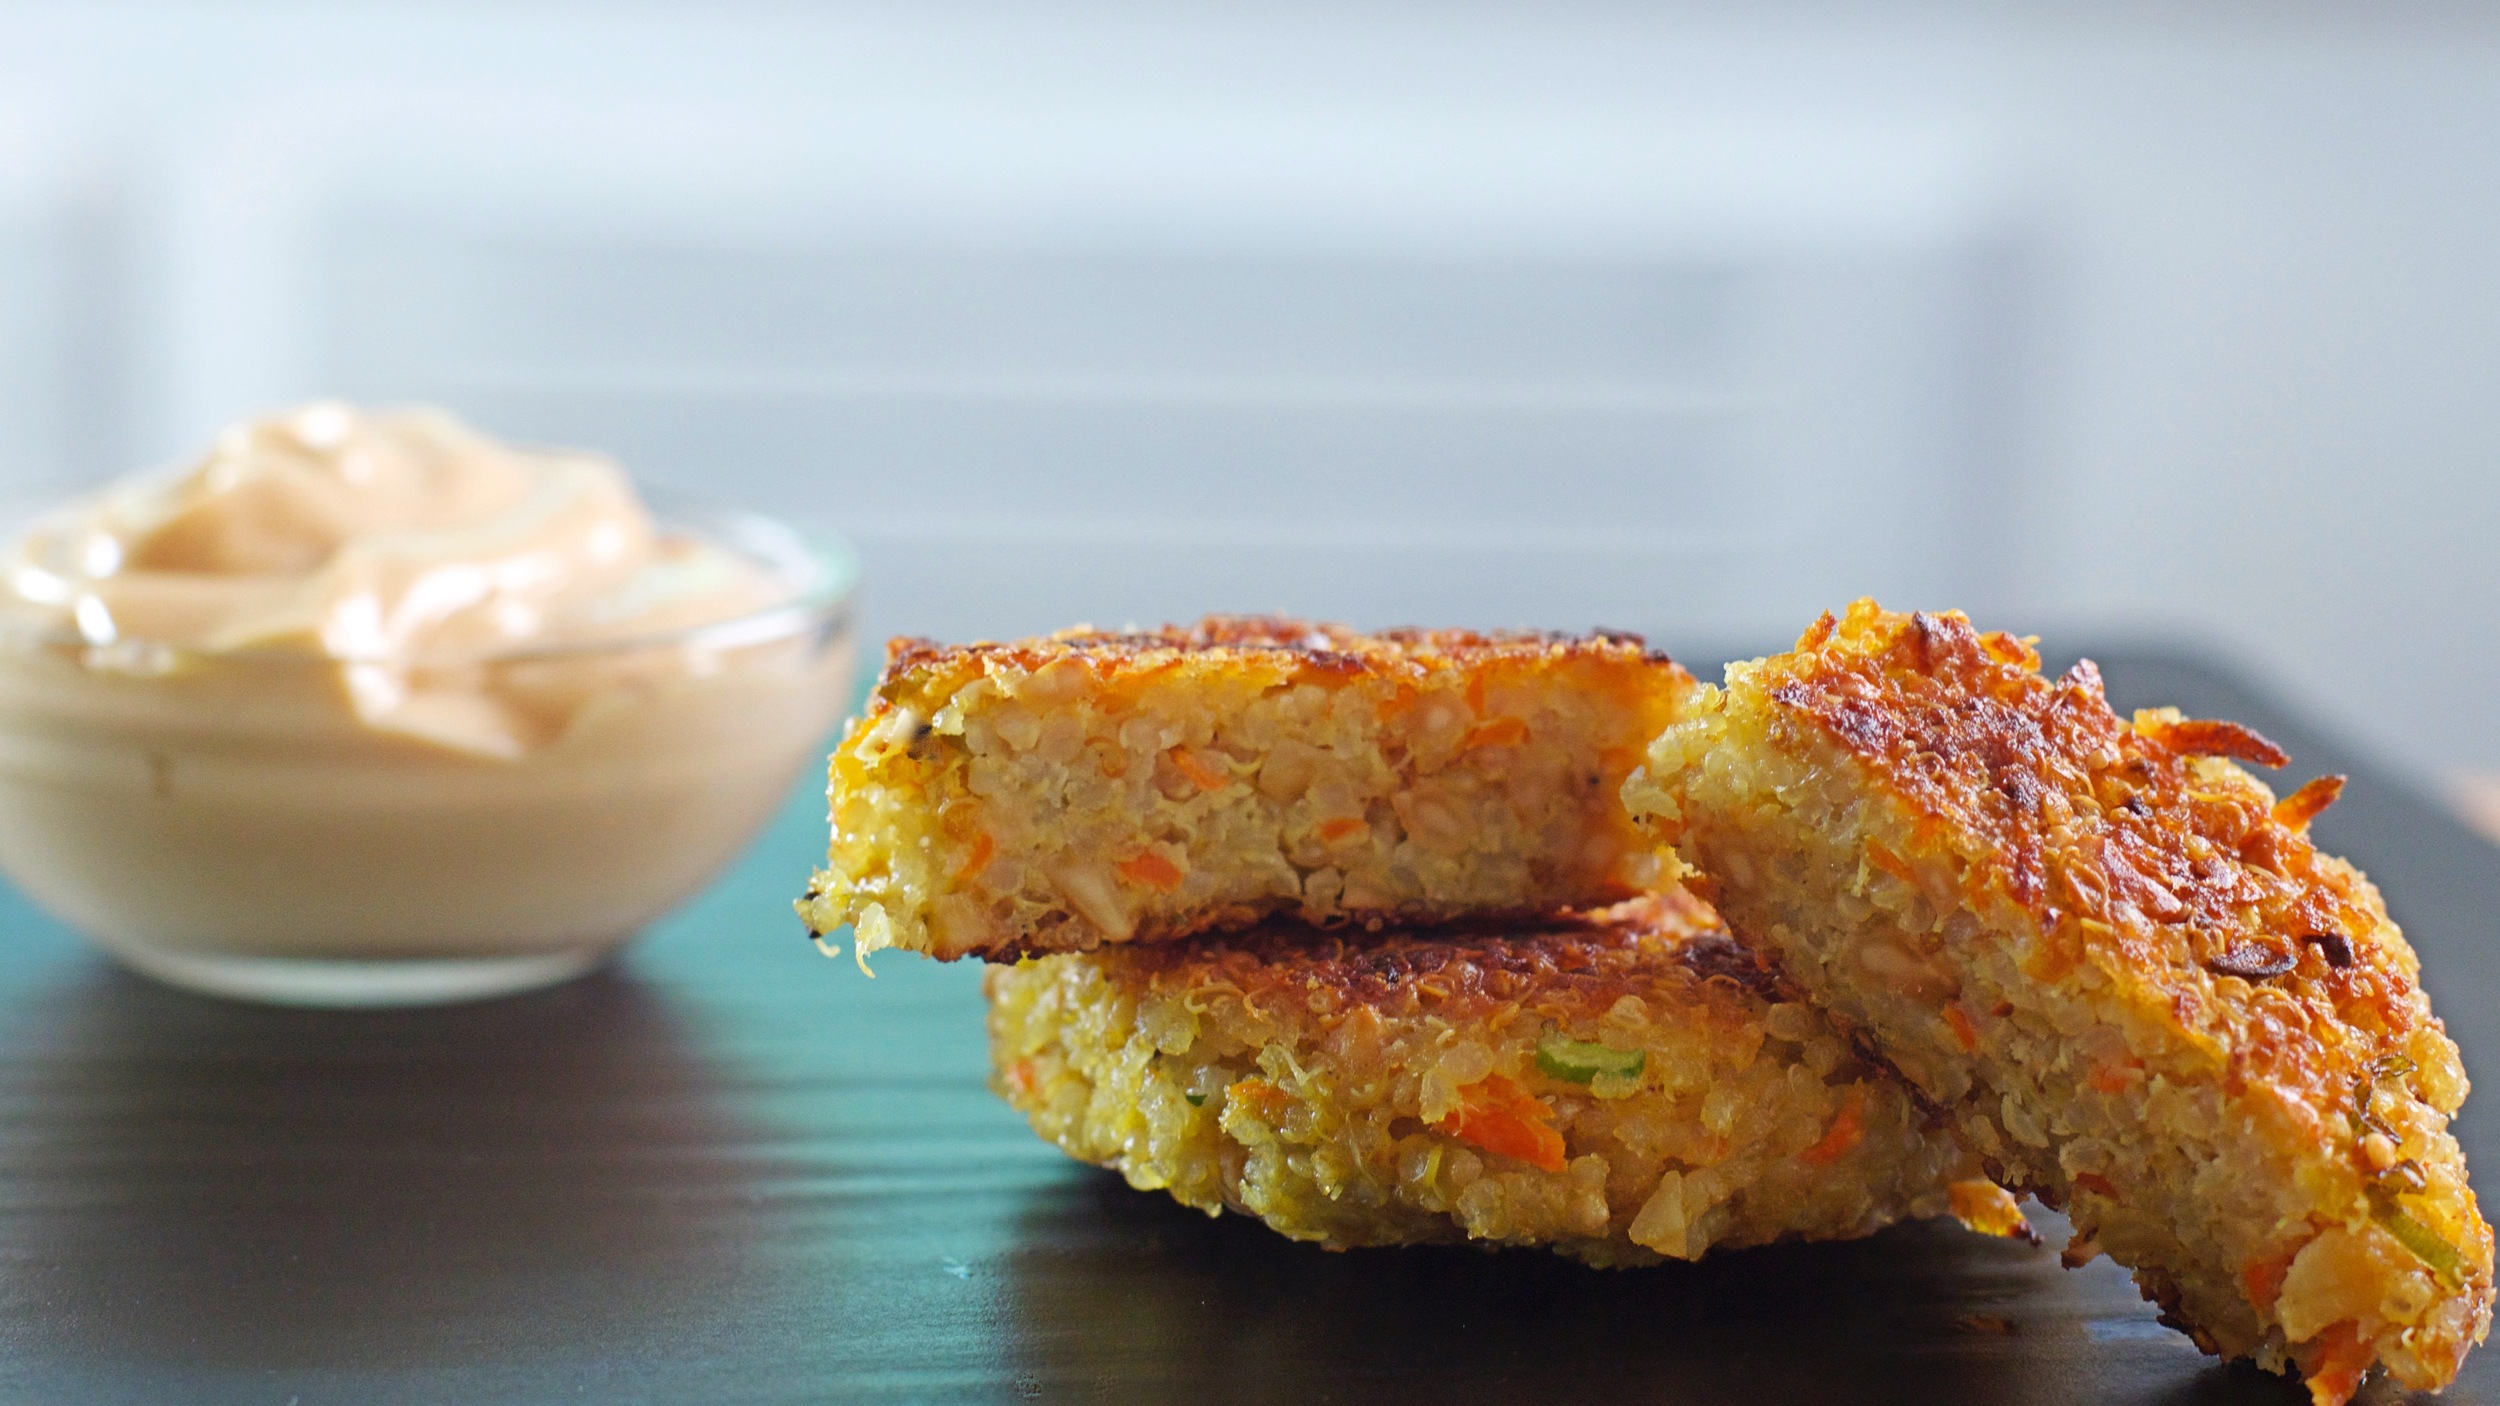
Cashew Quinoa Patties
I’ve shared many quinoa salad recipes in past meal plans, but quinoa is too versatile to limit to salads. Here’s a new approach to this nutritious seed. Because it has ample protein, patties are an obvious choice. I’ve added cashews for an enjoyable buttery texture. If you have nut allergies, simply leave them out. These patties are excellent for concealing vegetables inside them— a perfect solution for the picky eater in your house.
2 | Salad
Herbed Goat Cheese with White Beans and Asparagus
In summer, you’ll never have a shortage of good salad greens. The trick is to simplify ingredients in order to maximize flavor. I found a great goat cheese from a local farmer, and it was too good to pass up. I added white beans in a lemony herb dressing with a hint of Dijon mustard. Each element in this salad is fine on its own, but it’s the combination that really unlocks the flavors.
4 | Dessert
Fresh Blueberry Tarts
Blueberries are at their peak right now. I’d hate for you to miss out on my favorite way to have them. I usually make a large fresh blueberry pie big enough for 10 people. Today’s recipe is perfect for a much smaller group. The crust is light and chewy, with the addition of the lemon zest and juice. If summer had a song, it would sing about fresh blueberries all day long.
Food for the body is not enough.
There must be food for the soul.
~Dorothy Day
INSTRUCTIONS
1 | Main Dish
Angel Hair Pasta with Cherry Tomatoes, Zucchini, and Yellow Squash

1/2 pound angel hair pasta or thin spaghetti
1 medium zucchini
1 medium summer squash
1 cup cherry tomatoes
2 garlic cloves, minced
1/2 teaspoon red pepper flakes
1 tablespoon fresh chopped oregano
3 tablespoons fresh chopped basil
1/4 cup grated parmesan cheese
1/4 teaspoon salt
olive oil
Want to make this dairy or gluten-free? To make this dish dairy-free, simply omit the parmesan cheese. Most dried pastas are dairy-free; check your favorite kind to be sure. To make this gluten-free, check your grocery store for great gluten-free pastas like Barilla or Heartland.
Make ahead option– The Simple Steps 1 and 2 can be done three-four days ahead and stored in separate sealed containers in the fridge. When you are ready to make this meal, continue with The Simple Steps 3-7 and enjoy!
The Simple Steps...
1. Wash the zucchini and yellow squash. Then thinly slice them length-wise. Use a mandolin or a vegetable peeler to get very thin long strips.
2. Roast the tomatoes.
• My Method: Wash the tomatoes. Cut them in half. Toss them in 1 tablespoon olive oil and 1/4 teaspoon salt. Place on a baking tray.
• Bake at 425˚ for 8 minutes.
3. Cook the pasta.
• My Method: Bring 2 quarts of water to boil in a large pot. Generously salt the boiling water. This is your chance to flavor the pasta with salt. When the pasta is cooking, it’s taking in whatever flavor is in the water. So if there isn’t enough salt in the water now, it will be hard to get enough salt into the finished dish.
• Add the pasta to the water and cook according to package. In the last two minutes of cooking, add the thinly sliced zucchini and yellow squash. Drain the pasta and veggies and reserve 1 cup of the pasta water. Set the pasta and veggies aside. I used angel hair pasta for this to match the long ribbons of zucchini and squash, but use whatever pasta you like.
4. In a large pan, heat 2 tablespoons olive oil on medium heat. Add the garlic, oregano, and red pepper flakes to the pan. Sauté for one minute.
5. Add the roasted tomatoes and the reserved 1 cup pasta water to the pan. Bring this to a boil and cook for one minute. Reduce the heat.
6. Toss the pasta, zucchini, yellow squash, and basil into the pan. Stir everything together making sure its all coated in the sauce.
7. Sprinkle the parmesan cheese over the pasta, toss again, and serve.
2 | Side
Herbed Goat Cheese with White Beans and Asparagus

1 can (16 ounces) white beans, drained and rinsed
1/2 pound asparagus
4 oz goat cheese
1 tablespoon chopped fresh parsley
1 tablespoon chopped fresh oregano
1 package of baby lettuce mix
Lemon Dijon Dressing:
2 tablespoons fresh lemon juice
1 teaspoon lemon zest
2 teaspoons Dijon mustard
1 tablespoon chopped fresh parsley
1 tablespoon chopped fresh oregano
1/2 cup olive oil
1/4 teaspoon salt
Want to make this dairy or gluten-free? This salad is already gluten-free. To make this dairy-free, simply omit the goat cheese or use your favorite non-dairy cream cheese replacement like daiya Plain Cream Cheese Style Spread or GO Veggie! Vegan Classic Plain Cream Cheese. Then continue with The Simple Steps # 3.
Make ahead option– Do The Simple Steps 1-3. The roasted asparagus, herb cheese discs, and white beans coated in the dressing will keep for 5 days in separate sealed containers in the refrigerator. Having prepared these ahead, makes it even easier to have this hearty salad ready to serve in minutes.
The Simple Steps...
1. Add the white beans to the large bowl with the dressing and toss them to coat with the dressing.
2. Roast the asparagus.
• My Method: Wash the asparagus and cut off the ends. Toss the asparagus spears in 1 tablespoon olive oil and 1/4 teaspoon salt. Place on a baking tray.
• Roast at 425˚ for 8 minutes. You can roast these and the tomatoes for the pasta at the same time.
3. Cut the goat cheese into eight equally sized discs. Place the 1 tablespoon chopped fresh parsley and the 1 tablespoon chopped fresh oregano on a plate and mix them together. Roll the goat cheese around over the herbs to coat the disc with herbs. Each person should get two cheese discs.
4. Place the mixed baby lettuce on a medium platter. Top that with the white beans coated in the dressing. Scatter the asparagus over the beans and place the herbed goat cheese discs on top of all that. Serve and enjoy!
For Lemon Dijon Dressing:
1. Whisk the lemon juice, lemon zest, dijon mustard, and herbs together in a large mixing bowl.
2. Slowly pour the oil into the bowl whisking while you pour.
3. Stir the salt into the mixture. Taste the dressing for saltiness. Add 1/8 teaspoon at a time if you'd like it to be a little saltier. Make extra of this dressing so you can use it on any salad.
3 | Side
Cashew Quinoa Patties
1 cup uncooked quinoa (about 2 cups cooked)
2 bay leaves
2 garlic cloves
1 teaspoon salt
2 green onions, thinly sliced
1 small carrot, shredded
1/2 cup grated parmesan cheese
1 cup whole cashews
2 large eggs
1/4 teaspoon salt
vegetable oil
Spicy Mayo:
1/2 cup mayonnaise
1 tablespoon adobo sauce (from a can of chipotles in adobo)
Want to make this dairy or gluten-free? For dairy-free patties, leave out the cheese and replace the egg with 2 tablespoons flaxseed meal mixed with 6 tablespoons water. Let this sit for two minutes. Then use it instead of the eggs in The Simple Steps number 3. This is already deliciously gluten-free so no need for changes.
Make ahead option– Follow all The Simple Steps and place the patties you wish to eat later into a sealed container. These last 5 days in the refrigerator and up to two months in the freezer.
The Simple Steps..
1. Cook the quinoa.
• My Method: Place quinoa in a strainer, rinse well under cold water, and drain. Put the quinoa into a medium saucepan with 2 cups water, the garlic cloves cut in half, the bay leaves, and salt. Bring to a boil. Then, reduce the heat and cover the pan. Allow it to simmer for about 15-16 minutes.
• It's done when all the water is absorbed into the quinoa. You can do this ahead of time or even the night before (and store quinoa in the fridge) so the quinoa can cool.
2. While the quinoa is cooking, slice the green onions, shred the carrot, and grate the cheese. Place it all into a large mixing bowl. Finely chop or grind the cashews and add them to the bowl.
3. Once the quinoa is finished cooking, add it to the bowl and mix everything together well. Stir in the eggs and salt.
4. Form the mixture into 8 patties, which is a little more than 1/4 cup of the mixture per patty. Really squeeze the quinoa mixture together and smooth it into a disc. This is a little messy, but worth the effort.
5. Heat a large skillet over medium-high heat and add 3 tablespoons vegetable oil to the pan. Once the oil is hot, add 5 or 6 quinoa patties to the pan. Cook them for about 5 minutes. They’ll turn deep golden brown and crispy. Gently flip them, and cook 5 more minutes. Remove the patties and place on a paper towel lined plate. Continue cooking the remaining patties.
For Spicy Mayo:
1. Place the mayonnaise and adobo sauce in a small bowl and mis well. Serve alongside the warm quinoa patties.
4 | Dessert
Fresh Blueberry Tarts

For the Lemony Crust:
1 1/2 cups shortbread cookie crumbs- 8 shortbread cookies— about 5 oz.
2 tablespoons butter, melted
2 tablespoons sugar
1 teaspoon lemon zest
1 teaspoon lemon juice
For Blueberry Filling:
1/4 cup water
1/2 cup blueberries, fresh or frozen
2 tablespoons water
1 tablespoon cornstarch
1/4 cup sugar
2 1/2 cups fresh blueberries
Want to make this dairy or gluten-free? For a simple dairy-free option, use coconut oil instead of the butter. For a simple gluten-free option, look for gluten-free vanilla cookies and use them instead.
Make ahead option– The crusts can be made as many as four days ahead and stored in a sealed container on the counter. The finished tarts can be made the day ahead, but they are best the same day.
The Simple Steps...
For the Lemony Crust:
1. Preheat the oven to 350˚.
2. In a medium bowl, mix together the ingredients for the crust.
3. Press the mixture into 4 mini tart or individual pie pans making sure to cover the bottom of the pan.
4. Bake for 5-7 minutes or until golden brown and bubbly. Remove from the oven and cool on a rack while you make the filling.
For the Blueberry Filling:
1. Place the water and 1/2 cup blueberries in a small pot, cover, and bring to a boil. Lower the heat after the berries pop open, which will be about 4 minutes. This process will happen quickly so be sure to have all the ingredients measured out and ready to go.
2. In a separate small bowl, mix the 2 tablespoons water and 1 tablespoon cornstarch together. Add this mixture to the blueberries and stir continually for about 1-2 minutes or until the mixture is clear.
3. Stir the sugar into the blueberries, allowing the berries to break apart into very small pieces, and simmer for another minute.
4. Wash the blueberries and pour them into a medium mixing bowl. Pour the filling on to the berries and gently stir to coat the berries.
5. Pour the fresh berry filling into the individual pie crusts and enjoy!
QUICK TIP
What To Do With Extra Ingredients–
• Lemons — Leftover lemons from any meal plan can be used to make lemon water to drink with your meal. If you just use lemon or lime juice and don’t need the zest for a recipe, zest the fruit anyway before juicing it. Then save the zest in a freezer proof baggie to use for a later recipe. The zest freezes well and can last for two months or so.
• Can of chili in adobo sauce — Make huevos rancheros. It’s simple! All you need is two corn tortillas per person, 2 fried eggs per person, and a simple salsa. The salsa is made by cooking 3 chopped tomatoes, 1 chopped onion, 2 minced garlic cloves, 1/4 cup chopped fresh cilantro, and a tablespoon of chipotle chilies in adobo sauce. This is such a quick meal to make and you can add other toppings like black beans and cheese.
WHAT DID YOU THINK?
Please let me know what you think about this week's meal plan. What's is your favorite summer meal?
Remember, sharing is caring! Forward this email to your friends and family.